Redux - React Example
Here is a small example of react and Redux application. You can also try developing small apps. Sample code for increase or decrease counter is given below −
This is the root file which is responsible for the creation of store and rendering our react app component.
/src/index.js

import React from 'react'
import { render } from 'react-dom'
import { Provider } from 'react-redux'
import { createStore } from 'redux';
import reducer from '../src/reducer/index'
import App from '../src/App'
import './index.css';

const store = createStore(
   reducer,
   window.__REDUX_DEVTOOLS_EXTENSION__ &&
   window.__REDUX_DEVTOOLS_EXTENSION__()
)
render(
   <Provider store = {store}>
      <App />
   </Provider>, document.getElementById('root')
)
This is our root component of react. It is responsible for rendering counter container component as a child.
/src/app.js

import React, { Component } from 'react';
import './App.css';
import Counter from '../src/container/appContainer';

class App extends Component {
   render() {
      return (
         <div className = "App">
            <header className = "App-header">
               <Counter/>
            </header>
         </div>
      );
   }
}
export default App;
The following is the container component which is responsible for providing Redux’s state to react component −
/container/counterContainer.js

import { connect } from 'react-redux'
import Counter from '../component/counter'
import { increment, decrement, reset } from '../actions';

const mapStateToProps = (state) => {
   return {
      counter: state
   };
};
const mapDispatchToProps = (dispatch) => {
   return {
      increment: () => dispatch(increment()),
      decrement: () => dispatch(decrement()),
      reset: () => dispatch(reset())
   };
};
export default connect(mapStateToProps, mapDispatchToProps)(Counter);
Given below is the react component responsible for view part −
/component/counter.js
import React, { Component } from 'react';
class Counter extends Component {
   render() {
      const {counter,increment,decrement,reset} = this.props;
      return (
         <div className = "App">
            <div>{counter}</div>
            <div>
               <button onClick = {increment}>INCREMENT BY 1</button>
            </div>
            <div>
               <button onClick = {decrement}>DECREMENT BY 1</button>
            </div>
            <button onClick = {reset}>RESET</button>
         </div>
      );
   }
}
export default Counter;
The following are the action creators responsible for creating an action −
/actions/index.js
export function increment() {
   return {
      type: 'INCREMENT'
   }
}
export function decrement() {
   return {
      type: 'DECREMENT'
   }
}
export function reset() {
   return { type: 'RESET' }
}
Below, we have shown line of code for reducer file which is responsible for updating the state in Redux.
reducer/index.js
const reducer = (state = 0, action) => {
   switch (action.type) {
      case 'INCREMENT': return state + 1
      case 'DECREMENT': return state - 1
      case 'RESET' : return 0 default: return state
   }
}
export default reducer;
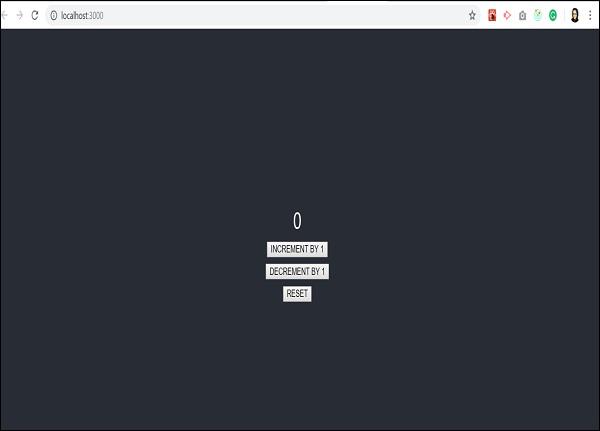
Initially, the app looks as follows −
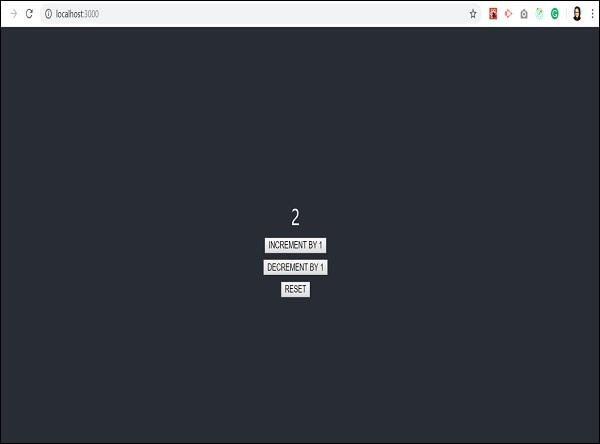
When I click increment two times, the output screen will be as shown below −
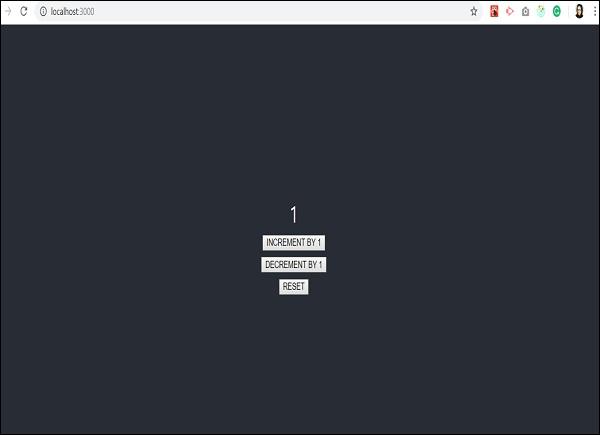
When we decrement it once, it shows the following screen −
And reset will take the app back to initial state which is counter value 0. This is shown below −
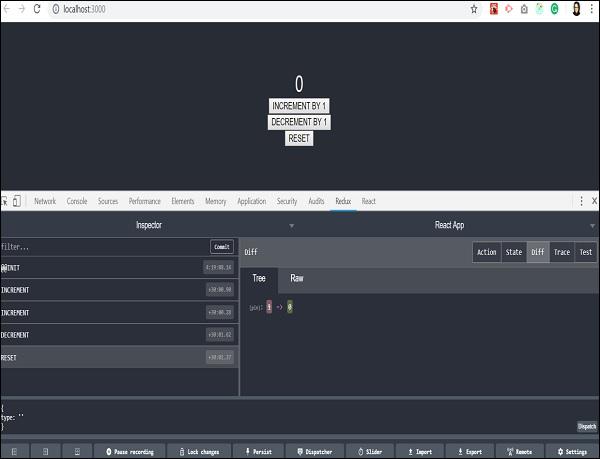
Let us understand what happens with Redux dev tools when the first increment action takes place −
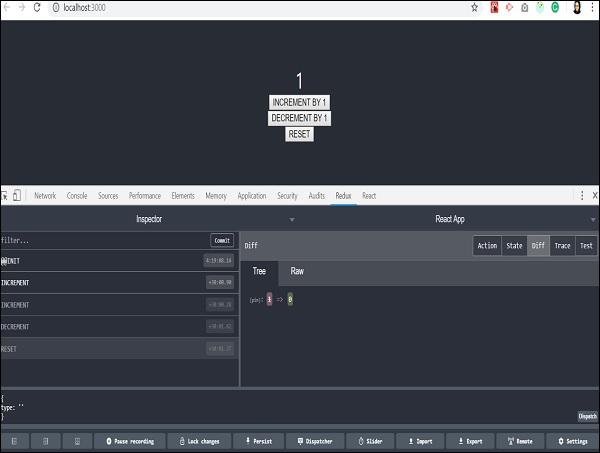
State of the app will be moved to the time when only increment action is dispatched and rest of the actions are skipped.
We encourage to develop a small Todo App as an assignment by yourself and understand the Redux tool better.